
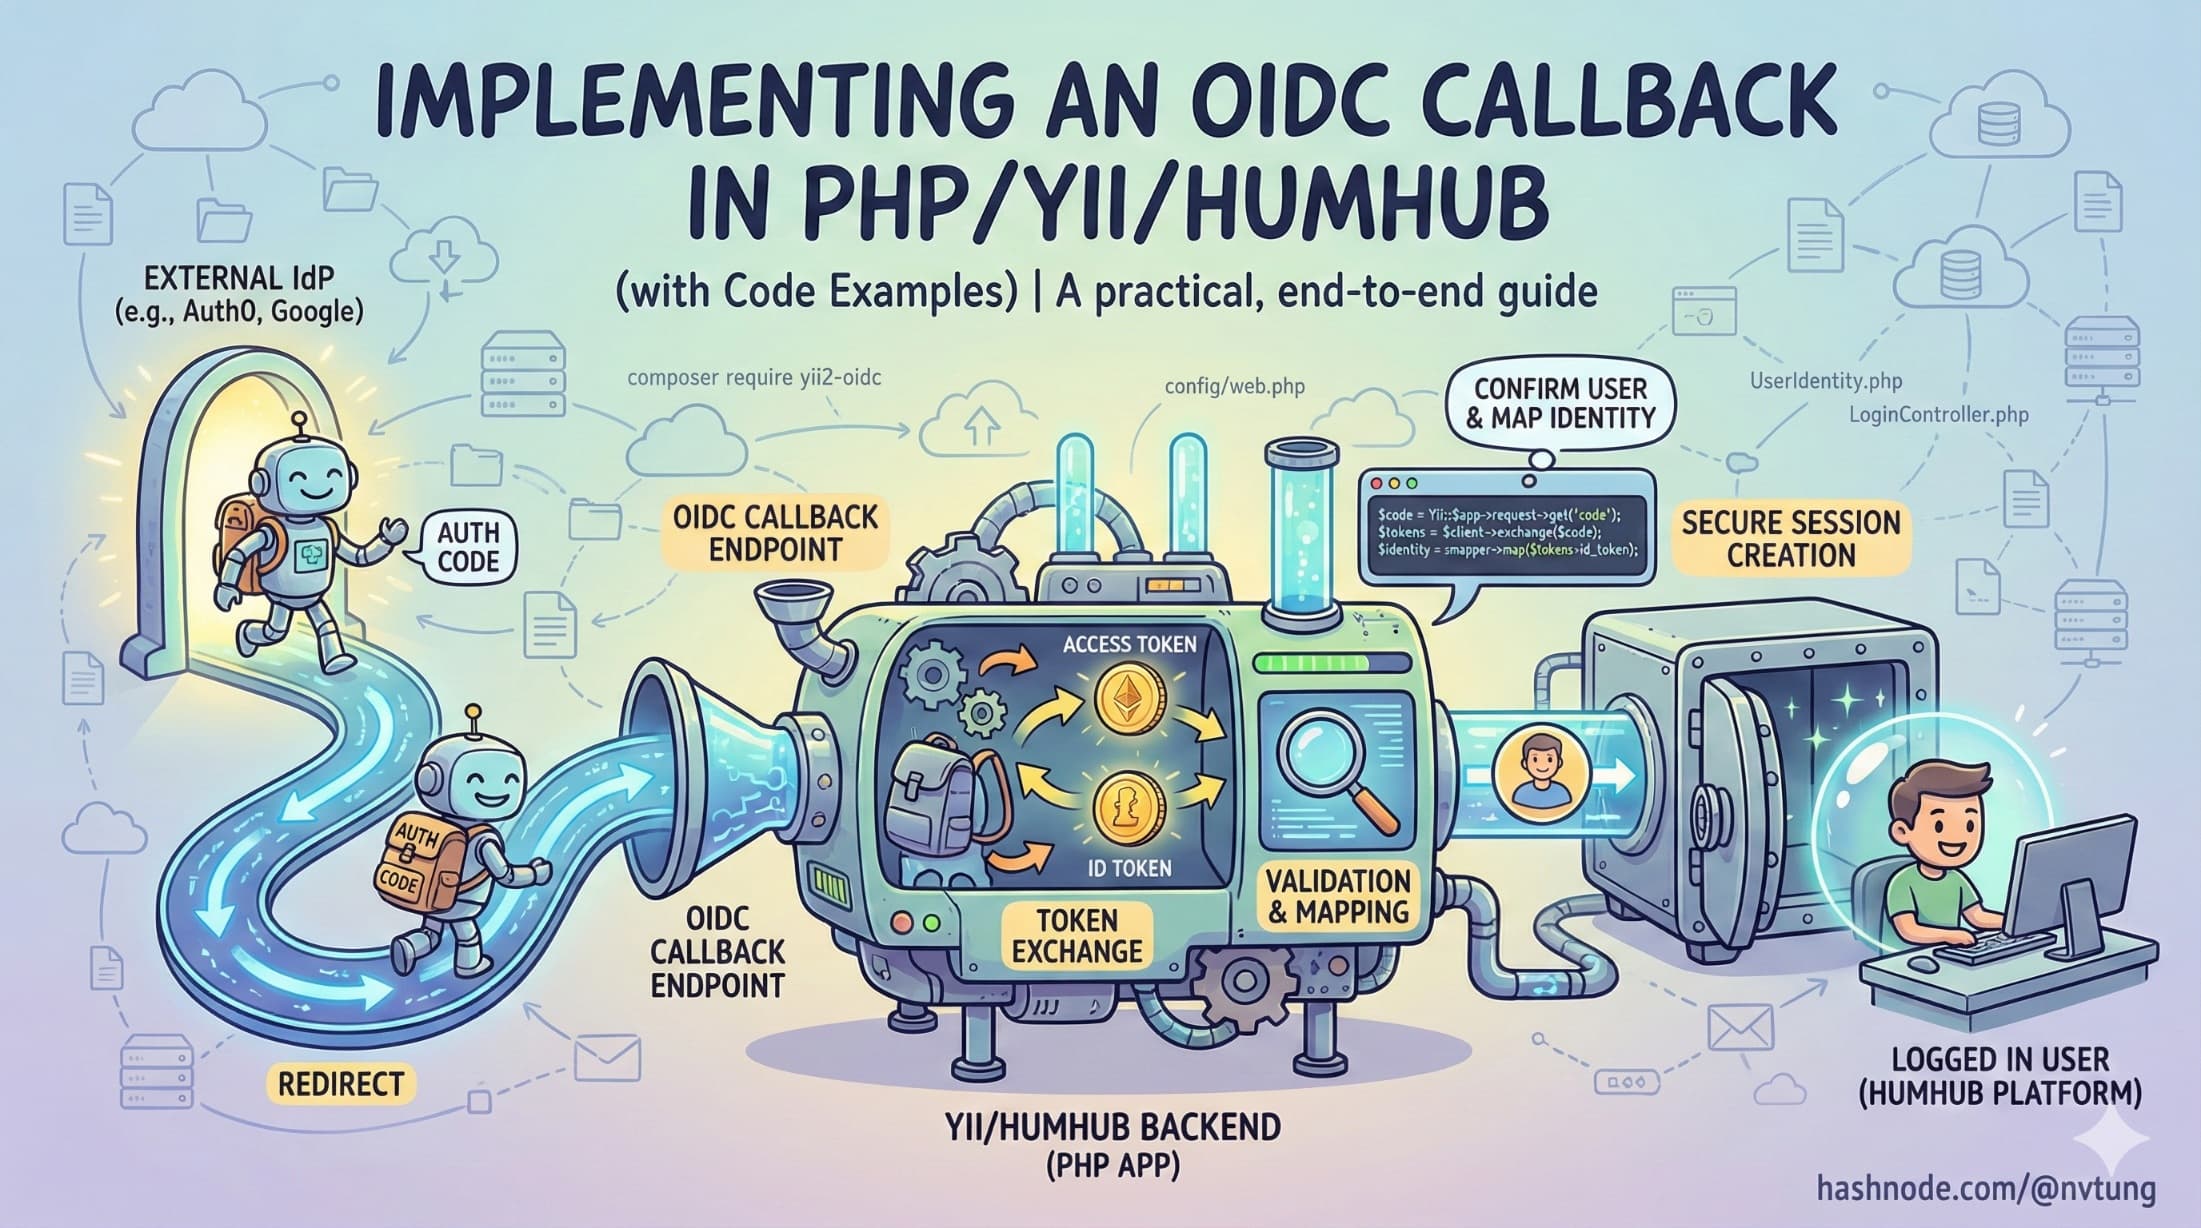
Implementing an OIDC Callback in PHP/Yii/HumHub (with Code Examples)
A practical, end-to-end guide to handling OIDC redirects, token exchange, identity mapping, and secure session creation inside a Yii/HumHub app
Series: Web Authentication Demystified — From Concepts to Real-World
Integrating an external Identity Provider (IdP) into a PHP/Yii/HumHub application requires careful handling of redirects, token exchange, validation, identity mapping, and session creation. In my CSL authentication system, this callback step is where everything comes together: the IdP confirms who the user is, the backend exchanges the authorization code, tokens are validated and mapped to an internal account, and a secure session begins.
This article walks through the entire OIDC callback implementation in Yii/HumHub, including conceptual explanation and practical code examples reflecting my real-world architecture—minus sensitive or NDA-protected details.
1. Understanding the Role of the OIDC Callback
The OIDC callback is the endpoint the IdP redirects the user to after a successful login.

At a high level, the callback must:
Receive the
codeandstatefrom the IdPValidate that the
statevalue matches the one stored earlier (CSRF protection)Exchange the authorization code for tokens (via
/token)Validate the returned access token (signature + claims)
Map the IdP user (
sub) to an internal HumHub userProvision the user if no mapping exists
Create a new PHP/Yii session and persist it to Redis
Log the user in using HumHub’s session system
Generate CloudFront signed cookies (if needed)
Redirect the user back to the CSL module
Textbooks often treat this as a one-liner. Real systems treat it as a mini authentication pipeline.
2. Setting Up the OIDC Client in HumHub/Yii

HumHub uses Yii2’s authclient framework. A simplified configuration in common/config/web.php might look like this:
'components' => [
    'authClientCollection' => [
        'class' => 'yii\authclient\Collection',
        'clients' => [
            'idm' => [
                'class' => 'yii\authclient\clients\OpenIdConnect',
                'issuerUrl' => 'https://idp.example.gov',
                'clientId' => 'your-client-id',
                'clientSecret' => 'your-client-secret',
                'scope' => 'openid profile email',
                'validateJws' => true,
            ],
        ],
    ],
]
HumHub will automatically register the callback URL at:
/user/auth/external?authclient=idm
This is the endpoint the IdP redirects to after login.
3. Receiving the Callback: Controller Flow

HumHub routes OIDC callbacks through UserAuthController and ultimately through Yii’s AuthAction. A simplified version of what happens when the IdP redirects back:
public function onAuthSuccess(ClientInterface $client)
{
    $attributes = $client->getUserAttributes();

    // Example: $attributes contains:
    // [
    //     'sub' => 'teacher-10482',
    //     'email' => 'linh.nguyen@example.gov',
    //     'name' => 'Nguyen Van A'
    // ]

    $this->processOidcUser($client, $attributes);
}
But before this code executes, the client library already:
validates the
stateparameterexchanges the authorization code via
/tokenreceives an access token + (optional) ID token
validates JWT signatures (if using a JWT access token)
This automatic behavior simplifies the OIDC callback significantly.
4. Validating the Access Token (Server-Side)

Even though Yii’s OIDC client can validate tokens automatically, it is safer to perform explicit validation that matches my system’s policy.
Here’s a simplified token validation example:
$token = $client->getAccessToken();

$jwt = JWT::decode($token->getToken(), $jwks_keys, ['RS256']);

if ($jwt->iss !== 'https://idp.example.gov') {
    throw new Exception('Invalid issuer.');
}

if ($jwt->aud !== 'your-client-id') {
    throw new Exception('Invalid audience.');
}

if ($jwt->exp < time()) {
    throw new Exception('Token expired.');
}

$sub = $jwt->sub;   // Government identity key
In my real system, most validation is handled internally by the OpenIdConnect client, but this example shows the conceptual process.
5. Mapping to Internal Users: The user_auth Table

Once the token is validated, the next step is mapping the external identity (sub) to the internal HumHub user.
A simplified version of the mapping logic:
$auth = UserAuth::findOne(['provider' => 'idm', 'provider_id' => $sub]);

if (!$auth) {
    // Provision new user mapping
    $auth = new UserAuth([
        'provider' => 'idm',
        'provider_id' => $sub,
        'user_id' => $this->createLocalUser($attributes),
    ]);
    $auth->save();
}

$user = User::findOne($auth->user_id);

if (!$user || $user->status != User::STATUS_ENABLED) {
    throw new Exception('User is disabled or unavailable.');
}
This step ensures:
external identity belongs to a known local user
new users are provisioned only when allowed
disabled accounts cannot log in
permission checks remain internal and separate from the IdP
This separation of authentication (IdP) and authorization (HumHub) is a major security strength of my system.
6. Creating the PHP Session and Logging In (Redis-Backed)

Once the local user is resolved, we create a new session and log them into HumHub.
Yii::$app->user->switchIdentity($user, 0);

Yii::$app->session->regenerateID(true);  // Prevent session fixation
Yii::$app->session->set('user_id', $user->id);
Yii::$app->session->set('login_time', time());
Because HumHub is configured to use Redis as the session store, this automatically persists the session to Redis:
'components' => [
    'session' => [
        'class' => 'yii\redis\Session',
        'redis' => 'redis',
        'keyPrefix' => 'humhub_sess_',
    ],
]
The browser receives the new PHPSESSID cookie with secure flags:
HttpOnly
Secure
SameSite=Lax
This becomes the user's authenticated session.
7. Generating CloudFront Signed Cookies

After login, the app issues CloudFront signed cookies so authenticated users can access protected static assets.
$expires = time() + 300; // short-lived policy
$policy = CloudFront::generatePolicy($user->id, $expires);

Yii::$app->response->headers->add('Set-Cookie', CloudFront::signedCookie('CloudFront-Policy', $policy));
Yii::$app->response->headers->add('Set-Cookie', CloudFront::signedCookie('CloudFront-Signature', $signature));
Yii::$app->response->headers->add('Set-Cookie', CloudFront::signedCookie('CloudFront-Key-Pair-Id', $keyPairId));
These cookies do not identify the user—only authorize access to assets based on policy.
8. Redirecting the User Back to the Application

Once provisioning, session creation, and signed cookie setup are complete, we redirect the user:
return $this->redirect(['/csl/dashboard']);
At this point:
the Redis session is live
the user is authenticated
permissions and roles are loaded from HumHub
CloudFront access is available
The user lands on the CSL module fully logged in.
9. Handling Errors & Edge Cases
Real implementations must defend against many failure modes.

Invalid or missing state
Reject immediately (CSRF protection).
Expired or invalid authorization code
Redirect to login with an error.
Token signature verification failure
Do not proceed—treat as a security breach attempt.
Missing or disabled user
Do not allow login; show authorization error.
Provisioning failures
Log thoroughly; halt login flow.
CloudFront cookie generation failure
Allow login but disable access to protected assets until fixed.
Logging plays a critical role in diagnosing these issues.
10. Why This OIDC Callback Implementation Works Well in PHP

✔ Tokens never reach the browser
Eliminates major XSS-related risks.
✔ HumHub/Yii session model fits naturally
No need to retrofit token-based authentication into a session-driven system.
✔ Clear separation of identity (IdP) and authorization (HumHub)
My app controls what the user can do.
✔ Redis allows distributed scaling
Multiple app servers share the same session state.
✔ CloudFront cookies provide secure CDN access
Static resource protection fits seamlessly into the authentication pipeline.
✔ Hybrid approach avoids unnecessary SPA-style complexity
The system remains maintainable and predictable for PHP developers.
Final Thoughts
Implementing an OIDC callback in PHP/Yii/HumHub means bridging modern identity standards with a mature, session-based framework. The solution described here does exactly that—leveraging OAuth2/OIDC for secure identity while preserving HumHub’s natural session-driven architecture.
It’s not a textbook-perfect implementation, and it doesn’t need to be.
It’s a practical, secure, maintainable solution built for real-world constraints.