
Step-by-Step: Bootstrapping my Containerized Environment
From zero to a running multi-service stack
Series: Containers, Actually: Building Real Local Dev Environments
ACT III — Real Implementation: My Humhub Stack
Previous: Containerized: My Repository Structure & Design Decisions
Next: Working Day-to-Day Inside my Containerized Stack
Disclaimer (NDA Notice)
This walkthrough is based on a real internal project and development stack.
Due to NDA constraints, some repository names, paths, credentials, and configuration values are anonymized or simplified.The commands, flow, Docker behavior, and failure modes are real and representative.
Treat this article as a reliable execution guide, not a verbatim copy of the internal setup.
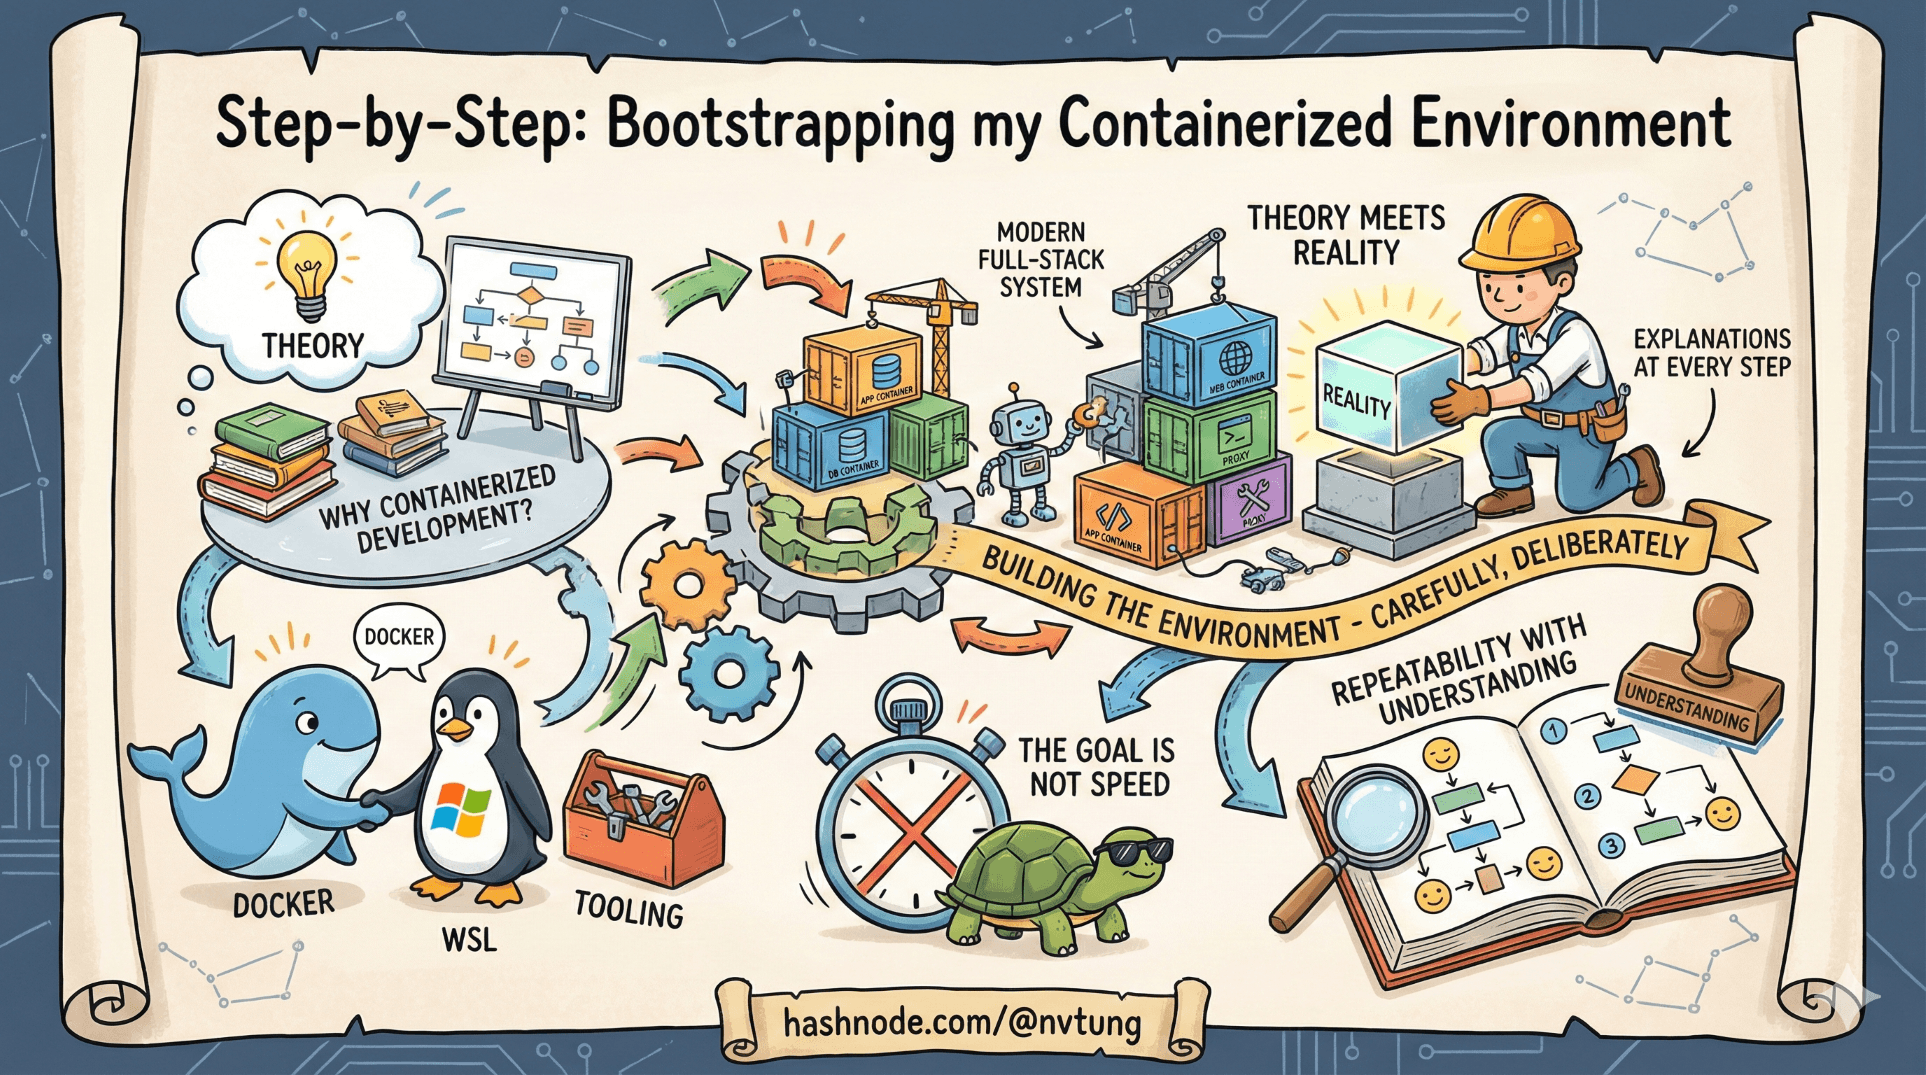
This is the moment where theory meets reality.
Up to now, we’ve talked about why containerized local development exists, what a modern full-stack system looks like, and how Docker, WSL, and tooling fit together. In this article, we actually build the environment—carefully, deliberately, and with explanations at every step.
The goal is not speed.
The goal is repeatability with understanding.
Step 0: Mental Preparation (Seriously)
Before running commands, make sure these assumptions are true:
You are on Windows
You are willing to use WSL 2 as your primary dev environment
Your code will live inside the Linux filesystem
Docker will run inside WSL, not against
C:\

If any of those feel optional, you’ll likely hit friction later.
Step 1: Installing Prerequisites
Required Components
At a minimum, you need:
Docker Desktop
WSL 2
A Linux distribution (Ubuntu recommended)
Git
A terminal
An editor (VS Code)

These tools form a stack, not a menu. Installing only some of them leads to half-working systems.
Docker Desktop
Install Docker Desktop for Windows and ensure:
WSL 2 backend is enabled
Your Linux distro is integrated
Docker starts without errors
After installation, verify from inside WSL:
docker version
docker compose version
If these commands fail inside WSL, Docker is not integrated correctly.
Windows Terminal (Strongly Recommended)
Windows Terminal isn’t cosmetic—it makes WSL usable.
Once installed:
Add a profile for your Linux distro
Set it as default if possible
From now on, all commands in this article assume you are inside a WSL terminal, not PowerShell.
Step 2: WSL Setup (If Not Already Done)
If WSL is already installed and you’re using it daily, you can skim this section.

Verify WSL Version
wsl --list --verbose
You should see something like:
Ubuntu-22.04 Running 2
If your distro is using version 1, convert it:
wsl --set-version Ubuntu-22.04 2
WSL 1 will cause Docker pain later. Don’t negotiate with it.
Resource Configuration (.wslconfig)
WSL 2 will happily consume all available resources unless constrained.
Create or edit this file on Windows:
C:\Users\<YourUser>\.wslconfig
Example:
[wsl2]
memory=6GB
processors=4
Why this matters:
Prevents Docker from starving Windows
Keeps performance predictable
Avoids “my laptop sounds like a jet engine” syndrome
Restart WSL after editing:
wsl --shutdown
Step 3: Choosing the Right Location for Code
This step is non-negotiable.

Correct Location
Inside WSL:
cd ~
mkdir -p projects
cd projects
Your path should look like:
/home/youruser/projects
Incorrect Location (Do Not Use)
/mnt/c/Users/youruser/projects
Using /mnt/c introduces filesystem translation overhead and breaks Docker performance in subtle ways.
Step 4: Cloning the Repository
Clone the repository inside WSL:
git clone https://example.com/your-repo.git
cd your-repo
At this point, your directory should contain:
ls
Typical output:
docker/
app/
docker-compose.yml
.env.example
README.md

If you see Windows-style paths or permission errors, stop here and fix them.
Step 5: Environment Variables Setup
Copy the example environment file:
cp .env.example .env
Edit .env as needed:
nano .env
Typical values:
APP_ENV=local
DB_HOST=mysql
DB_NAME=app
DB_USER=app
DB_PASSWORD=secret
REDIS_HOST=redis
QUEUE_HOST=rabbitmq

Important notes:
.envis local-onlyDo not commit it
Values should match service names in
docker-compose.yml
Environment variables configure values, not architecture.
Step 6: First docker-compose build
Now we build images.
docker-compose build
What This Actually Does
Reads
docker-compose.ymlIdentifies services with
build:directivesExecutes Dockerfiles
Caches layers where possible
Produces local images
Nothing is running yet.

Common Failure Points (Build Phase)
Network failures
Package downloads timing out
Temporary DNS issues
Permission issues
Files owned by Windows user
Incorrect bind mount paths
Build cache confusion
- Old layers masking changes
If things get weird:
docker-compose build --no-cache
Use this sparingly—it’s expensive but clarifying.
Step 7: First docker-compose up -d
This is where the system comes alive.
docker-compose up -d
What This Actually Does
Creates Docker networks
Creates volumes
Starts containers
Attaches containers to networks
Applies environment variables
Exposes mapped ports

The -d flag means “detached”—containers run in the background.
Step 8: Verifying the System Is Running
Check Container Status
docker-compose ps
Expected:
All services listed
Status is
UpNo constant restarting
Inspect Logs
For a specific service:
docker-compose logs app
Or tail logs live:
docker-compose logs -f web
Logs are the first place to look when something feels wrong.

Verify Service Health Individually
Web App
Open browser:
http://localhost:4202
You should see:
App landing page
Or framework install screen
Not a gateway error
MySQL
docker-compose exec mysql mysql -u app -p
If you can connect, persistence is working.
Redis
docker-compose exec redis redis-cli ping
Expected output:
PONG
Elasticsearch
curl http://localhost:9200
You should receive JSON describing the cluster.
Kibana
http://localhost:5601
Kibana takes longer to start—this is normal.
RabbitMQ Management UI
http://localhost:15672
Login credentials are usually defined in .env or compose config.
Common Failure Patterns (And What They Mean)
Containers Restarting Repeatedly
Misconfigured environment variables
Missing volumes
Invalid config files
Check logs immediately.
Web Loads, But App Errors
Database not initialized
Cache not reachable
App config mismatch
This is application-level, not Docker-level.
Slow Performance
Code lives under
/mnt/cResource limits too low
Antivirus scanning Docker files
Fix filesystem placement first.

If Everything Works—Stop and Breathe
At this point:
You have a multi-service system running locally
Data persists across restarts
Services communicate via Docker networking
Your environment is reproducible
That’s not trivial. Don’t rush past it.
What Comes Next
Now that the environment boots reliably, the next step is living inside it:
Running app commands
Debugging
Rebuilding selectively
Resetting state safely
Understanding daily workflows
That’s what the next article covers.
Bootstrapping is not about memorizing commands.
It’s about making the system predictable—so you can trust it tomorrow.